
White balance is hard to explain to someone. It is even worse to explain when something goes wrong and it has to be fixed in post processing. I guess the most simple way of putting it is: you have to let your camera know what white is in an image. Once your system knows what white is, the other colors fall into place.
White balance refers to compensation of the temperature of a light source and is measured in Kelvin. Kelvin is a means of measuring temperature used in thermodynamics with the null or zero point being absolute zero, the temperature when all thermal motion ceases.
That is all nice and fine, but what does it have to do with photography? Every light source has a temperature. This is readily obvious when you think about how a room looks under fluorescent light (3000 K), versus say, a bright sunny day (5500 K). In photography, your cameras ability to determine and adapt to these temperatures is what determines color accuracy. White balance failure happens and learning how to fix it is a valuable skill.
I often use the Auto WB setting on my camera, and most of the time is doesn’t fail me. This is especially true outside where there is normally a single bright light source. By that I mean the sun. When I shoot inside, things have a tendency to go a bit south. Inside any building, you have a problem with multiple light sources ranging from natural lighting from a window, incandescent lights, low wattage neon and LED lighting. This can play havoc on a cameras ability to set a proper white balance and you end up with an image with an improper tint. Worse yet, it can play havoc with exposure metering and can lead to the loss of an irreplaceable shot.
I want to take a break here and mention something I just noticed. My camera has a Scene menu for specific conditions, such as parties, shade, night photography, etc. I never use these… ever. My wife asked me about them and I mentioned this. I know my camera and how it works. I prefer to stay in Manual mode most of the time and these are too close to idiot mode for me. Call me a snob and you won’t be far from the truth.
The first step in fixing the white balance in an image is to fix it in camera. Outside is rarely a problem, but indoors I like to set it myself. I start by setting my white balance to manual, turn on the live view and adjust the white balance scale until I get to a natural tone in the preview window. It is really quite that simple. This is normally all I need to do and has rarely failed me. There has been the off moment when I failed to note a change in lighting, but it wasn’t fatal and I was able to fix it in post. Read on.


The second step is to take a couple of images of a white object or target. I have found a simple index card will do, but lately I have used a professional target, such as X-Rite’s Colorchecker Passport. I take two or three exposures and save them for post processing. If you did good in the the first step, this is just insurance against a possible worst case scenario. You can do this over the course of a photoshoot. Say you are walking though a museum and there might be a subtle change in lighting. Snap a couple images of your white target. It isn’t like you are wasting film; just a few megabytes of space on your SD card.
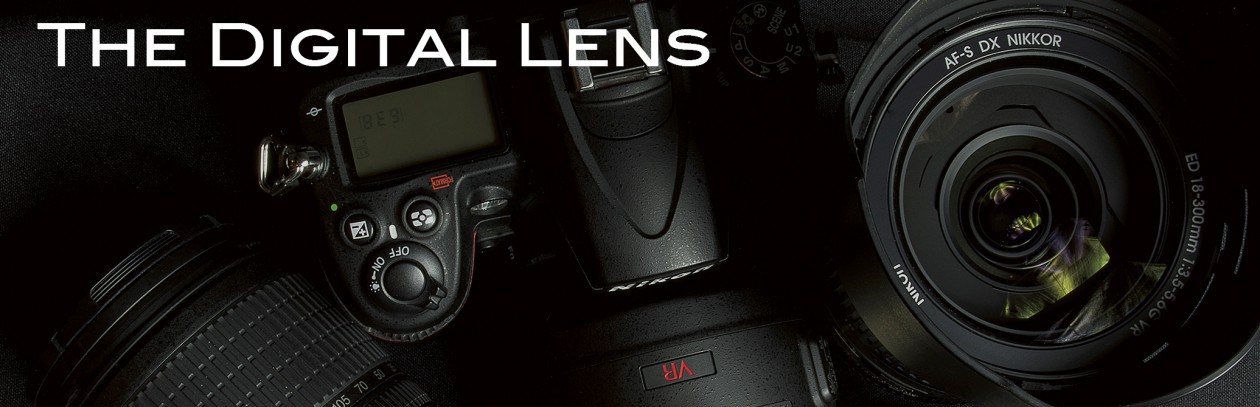
Now there is fixing white balance after the fact. You get home and an image is completely wrecked by an odd tint or tone, such as in the title image. Fixing it is easier than you think.
I am a big fan of Adobe Lightroom and have been using it steadily since Lightroom 4 a few years back. It is comparable to a well stocked darkroom with a highly skilled technician at the helm. It is subtler than Adobe Photoshop CC and is a good tool in managing catalogs of photos across several locations; local disk, back ups, cloud storage, etc.


In the development module, there is a simple fix in the form of a sample tool. In this image, I clicked on the sample tool and then on one of several possible white objects in the image. In this case, it was the highlight on the vase in the foreground. The image is noticeably better and if I am so inclined, I can adjust the white balance further to warm or cool the image to personal taste or artist needs.


Let’s assume that you decided to use a white balance target and you need to set the white balance on a number of images. First, select the images you wish to affect with the white balance target, set the white balance with the sample tool on your white balance target image, then click on the sync button. All selected images are adjusted for the new white balance. The ability to make quick adjustments to multiple images with a single click is what makes Lightroom so important to a photographer. Professionals call it work flow. Imagine fixing dozens, if not hundreds of images quickly and effectively, then think about fixing them one at a time. You understand.


In Photoshop, the first thing to try is Auto Color under the Image menu. This can be hit or miss, but it is a simple click and can be undone quickly if it doesn’t work out. For me it is a 50/50 shot at this working. It did fine in this case, but for those instances where it still goes south, you will have to look under Image > Adjustments > Color Balance to get it right


Using this method, I adjusted both the midtones and the highlights to achieve the desired white balance. This method gives you a great deal of control over an image and is great to remember when restoring faded colors in photographs.


In this example, the midtone slider went the other direction as the yellows had faded and needed boosting.
The downside to this is you are working on only a single image at a time. That means work flow is going to be a lot more tedious, but if you are not worried about dozens of images at a time, then no harm, no foul.
Not everything goes right every time. Exercising a few extra steps when possible can assure you a good image in camera and a great image from post processing. It can be as simple as an index card in most cases.
Hope this helps. Happy Hunting.
